Armorbar Logo

How to Install your Door Security Bar


ArmorBar requires 2” beyond casing on both hinge side and strike side to operate. If there is not 2”, the casing will need to be modified to accept the mounting brackets on a level surface. It is important that the brackets are screwed into the stud framing/king studs of the rough door framing to secure them.

The ArmorBar is intended to be lifted up at the hinge side when not in use.

1. Determine a height that clears all locks/projections
2. Measure and mark the height point on both hinge side and strike side
3. Place the mounting brackets next to casing with bottom of bracket at height point, mark screw holes
4. Drill pilot holes for screws (included)
5. Place the Armorbar with attached bracket on hinge side and screw into place.
6. Place the latching bracket on the strike side and screw into place
7. Extend bar across door and latch into place
8. Unlatch and lift up to unlock
9. If desired, there is an additional bracket (included) for securing the ArmorBar when not in use. Mark location of bracket when in upright position and screw into place.

Comes will all fittings.

Doorway needs 2" of clearance on either side of the door frame to install. Swing in doors only.
A drill/driver is best for installation. 
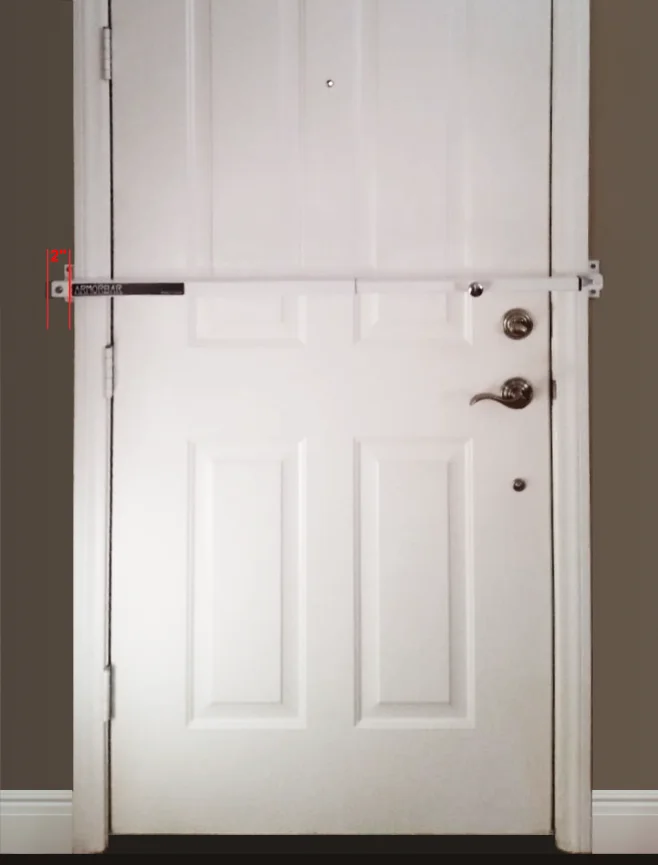
Armorbar fitted to a door